Installing the FileZilla FTP Client on Windows OS is easy. Just follow this tutorial.
1. Download the Filezilla FTP Client Installer file for your Windows OS.
2. Double click to Run the FileZilla FTP Setup File. If it shows a security warning, please read and accept it. Then click on Run.
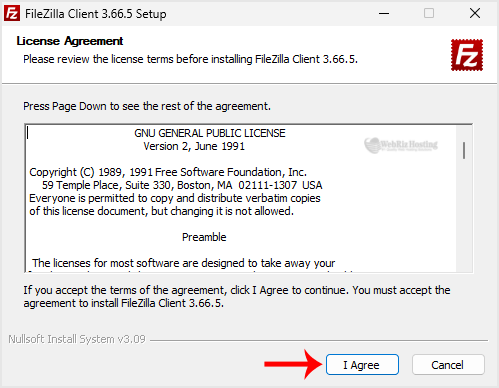
3. The FileZilla Client will show a License Agreement. Please, read it and accept the agreement to install the FileZilla Client.
4. Click on Next until it shows the Install option. Then click on install.
5. The installation usually completes in a few seconds. However, depending on the speed of your computer, it may take a little longer. Once it ends, confirm with Finish.
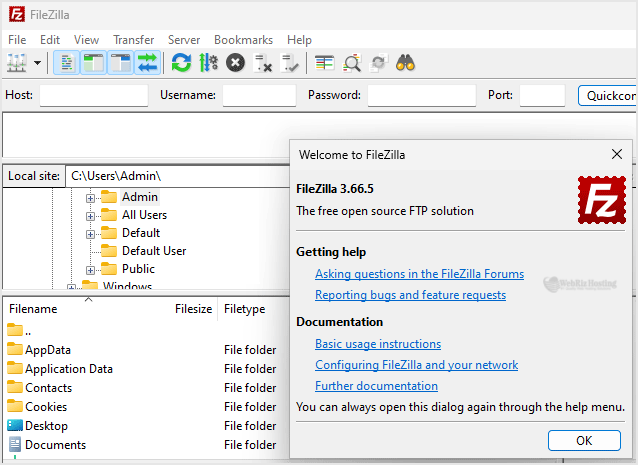
Congratulations. You have successfully installed the FileZilla Client on your Windows operating system. Now you can start using it.
 USD
USD


