Knowledgebase

How to Delete the Self-Shutdown Timer in Virtualizor


You can remove the self-shutdown timer in Virtualizor. Please, follow the steps below to remove the self-shutdown timer.


1. Log in to your Virtualizor Control Panel.


2. From the left side panel, click on List VPS.


3. Hover your mouse on the appropriate VPS, and that line will be highlighted. Then click on the Manage icon in the highlighted line.


4. Click on the Self Shut Down.


5. If you have multiple timers, hover your mouse on the appropriate one, and that line will be highlighted. Then click the Delete button in the highlighted line.
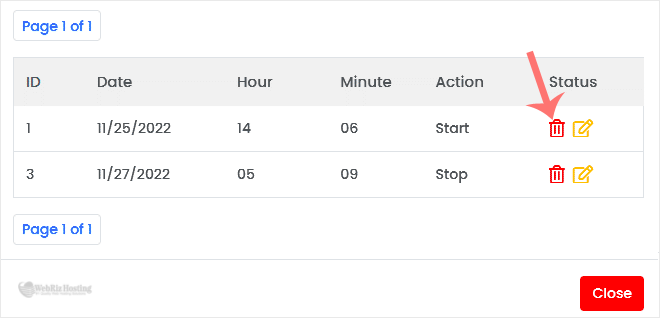
 

6. When asked, confirm with OK.


  • 0 Users Found This Useful
Was this answer helpful?

Related Articles

How to Reboot/Restart VPS in Virtualizor

  You can restart VPS via the command line or Virtualizor.   How to Reboot/Restart a VPS via...

How to Forcefully or Gracefully Shut Down the VPS in Virtualizor

You can shut down the VPS in two ways - forcefully or gracefully in Virtualizor.   How to...

How to Start/Boot Your VPS in Virtualizor

  If your VPS is down/offline, you can start it using Virtualizor.   1. Log in to your...

How to Access VPS via VNC in Virtualizor

You can access your VPS via VNC in an emergency, such as when a firewall blocks your IP, the...

How to Reinstall an OS Using the Virtualizor Automatic OS-Reinstaller

  You can easily Install/Reinstall the operating system using the Virtualizor. However, note...